How to Make a Ribbon Rosette Headband Step by Step
Few things are more adorable than matching a beautiful dress with an equally stunning headband. Unfortunately, you can’t always find the perfect headband to go with that new and fabulous dress. But you can always make it!
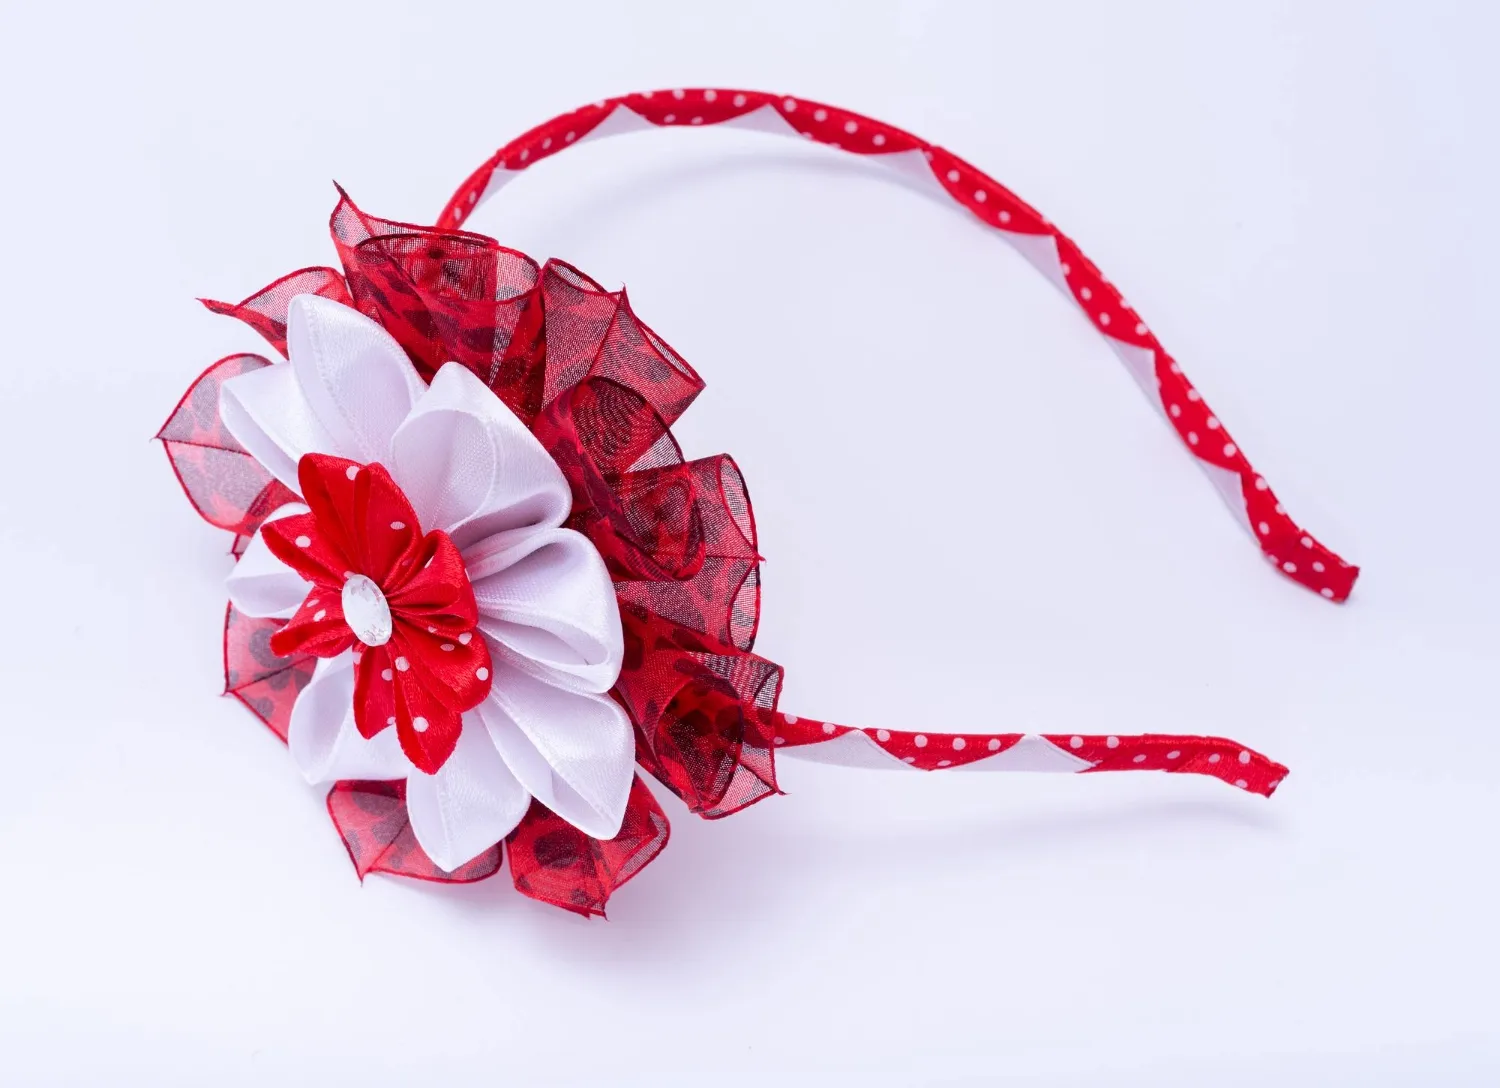
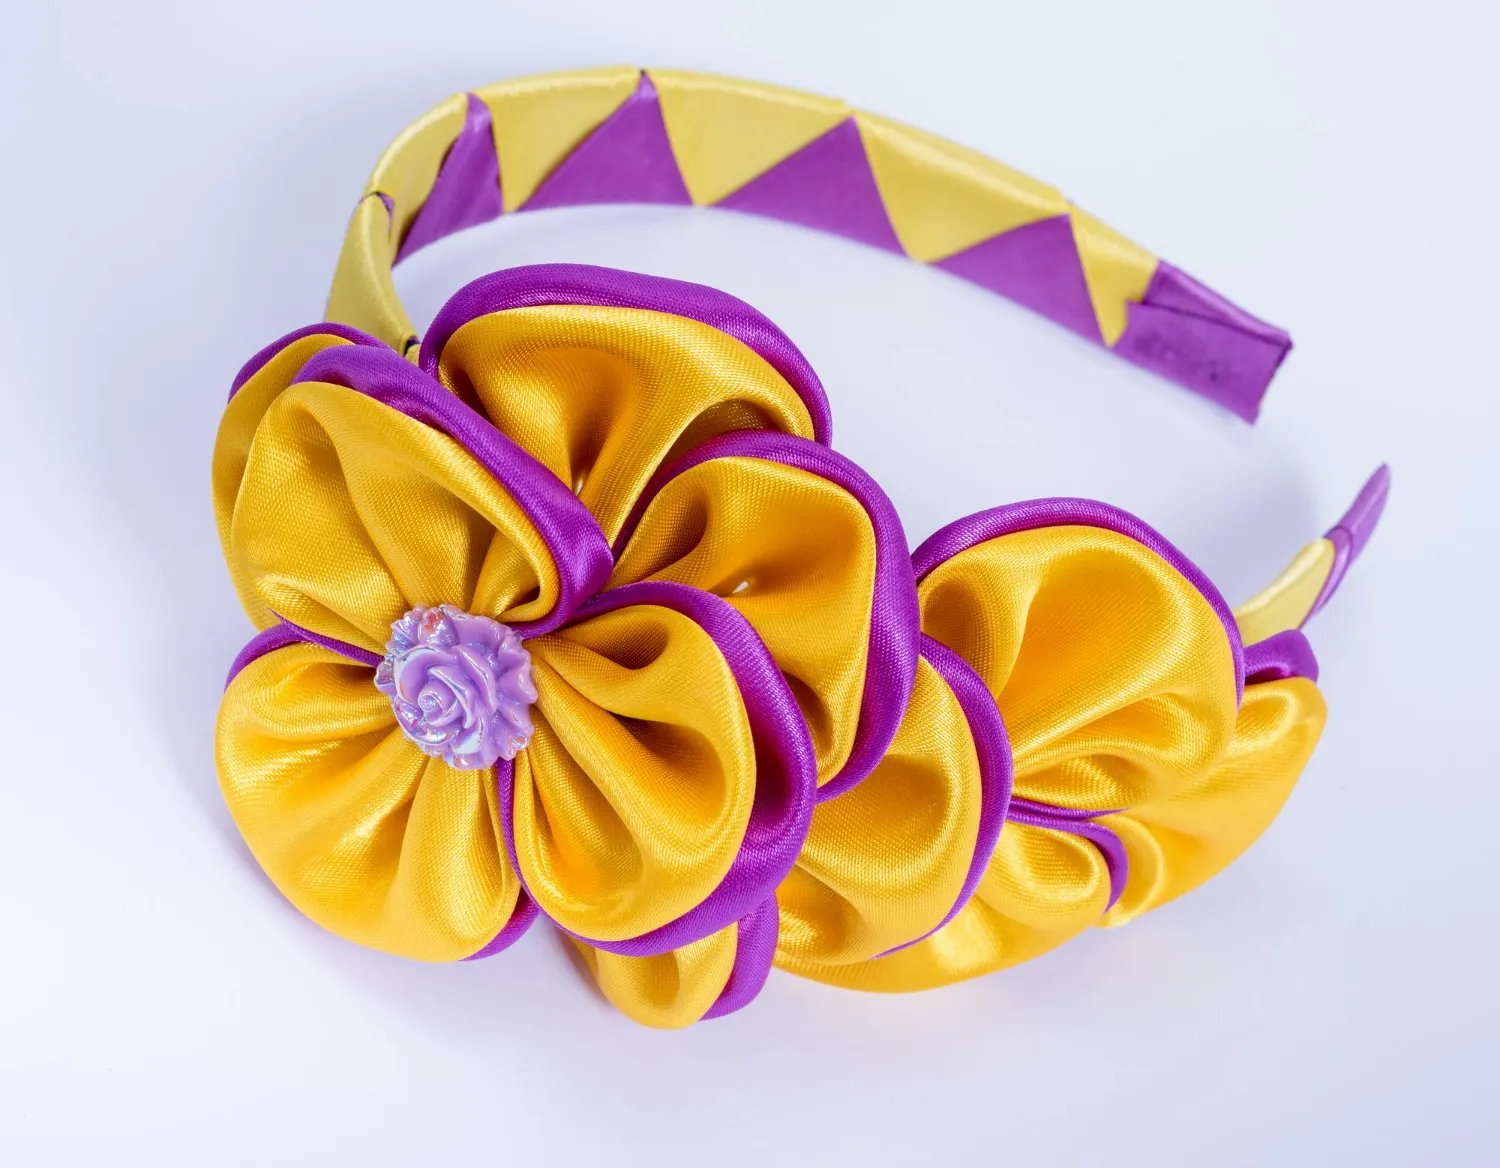
A ribbon rosette headband is the ideal addition to virtually any ensemble. Best of all? You can fully customize it by changing the number, size, and color of the rosettes. This allows you to have a personalized headband tailored to every new dress entering your kid’s wardrobe.
You’ll also be happy to know that this DIY project is relatively simple to pull off, so your little fashionista can join in on the fun. Without further ado, here’s how to make a ribbon rosette headband step by step.

Table of contents
-
How to Make a Ribbon Rosette Headband: A Step-by-Step Guide
-
Step 1: Choose Your Design
-
Step 2: Gather the Necessary Supplies
-
Step 3: Cover the Headband
-
Step 4: Make the Ribbon Rosettes
-
Step 5: Glue the Ribbon Rosettes Onto the Headband
-
Step 6: Add a Backing to the Ribbon Rosettes
-
Step 7: Decorate Your Headband
-
The Perfect Headband Made Easy
How to Make a Ribbon Rosette Headband: A Step-by-Step Guide
Once you see how easy it is to create a DIY ribbon rosette headband, you likely won’t want to stop. And why should you? Sure, you can make these adorable headbands for your child. But you can also make them for yourself with a few changes in the design. That’s not to mention how fabulous these headbands can be as gifts.

In other words, your options are virtually endless. You only need to learn how to make a ribbon rosette headband first. So, let’s take care of that crucial element in steps.
Step 1: Choose Your Design
This step will dictate the final look of your ribbon rosette headband, so choose wisely. Look for colors, textures, and materials that best work with the outfit you have in mind.
For instance, a flowy chiffon dress undoubtedly calls for chiffon ribbons, preferably in the same (or at least complementing) color.
If you’re unsatisfied with the choice of ribbons in your local craft store, consider looking for custom options. Custom Ribbons Now offers a wide variety of ribbons in any color, size, and fabric you can think of. You can even customize your chosen ribbons to match the intended headband recipient’s interests perfectly.
This also means you can customize your ribbon rosette headbands for special occasions, like Christmas, Easter, or Halloween.
Step 2: Gather the Necessary Supplies
With your design in mind, you can start gathering supplies to turn it into reality. There will be several optional supplies, depending on your desired design and skill level.
For instance, if you know how to sew, you can use this skill to secure your rosettes and attach decorations to your headband. If not, don’t worry; there are always alternative options.

Similarly, you can cover your entire headband in ribbons and not just use them for the rosettes. Or, you can use a complementing fabric to cover the headband if you’re going for a more textured and layered look.
Here are the supplies you’ll need in any case:
- A plastic headband (around 1 inch wide)
- Ribbons for the rosettes (the exact amount depends on the number of rosettes you want to make)
- Felt
- Fabric (for the backing)
- Hot glue
- Scissors
And here are the supplies you might need, depending on your choices and skills:
- Fabric to cover the headband
- Needle and thread
- Decorations (e.g., jewels, beads, and feathers)
Step 3: Cover the Headband
Now, it’s time to get down to work. The first thing you should do is cover the headband to make a proper foundation for your rosettes. As mentioned, you can do this with either a fabric of your choice or matching ribbons.
Regardless of your choice, make sure to work in small sections and apply hot glue as you go. In addition, pull your chosen cover tightly and press it into the glue to ensure it lies flat and secure on the headband.

Step 4: Make the Ribbon Rosettes
Step 4 is where the real stars of the show come in – the ribbon rosettes.
This is probably the most complex step of this tutorial. But follow these steps carefully, and you should end up with a perfect ribbon rosette:
- Cut out a small piece of felt (the size of your desired rosette).
- Add a little hot glue to its center.
- Tie the end of your ribbon into a knot and press it onto the hot glue.
- Start twisting your ribbon in a circle, gluing it to the felt as you go.
- Repeat Step 4 until you reach the desired size of your rosette.
- Tuck the end of the ribbon into the rosette and secure it with glue. Alternatively, sew the rosette through the backside to secure all of its layers.
You can now repeat Steps 1-6 for every ribbon rosette you want to make. Try changing up their sizes to add some visual interest to your headband.
While working, pay special attention to Step 4. How tightly you twist and wrap your ribbon will determine the final shape of your rosette.
Step 5: Glue the Ribbon Rosettes Onto the Headband
You can relax now. The “worst” part is done. From here, it’s all smooth sailing. All you need to do is glue your rosette(s) onto the headband. Be careful with the placement, as few people can pull off a huge rosette sitting on top of their head.

Step 6: Add a Backing to the Ribbon Rosettes
Though no one will be able to see the bottom of your headband, you should still ensure it looks neat. To do so, add a matching piece of fabric to the bottom of the rosettes and trim away the excess. This will also make sure the headband sits comfortably on the head.
Step 7: Decorate Your Headband
This step is optional but oh-so fun! You can get creative with your child and add all sorts of adorable decorations using jewels, buttons, beads, feathers, and lace. If you’d like to add a little something but not go too overboard, you can glue (or sew) a jewel at the center of each rosette.
The Perfect Headband Made Easy
And there you have it – you now know how to make a ribbon rosette headband with ease. Use this newly acquired skill to create the loveliest personalized headbands for your loved ones whenever you get the chance. You can even consider selling these beauties. Either way, the ribbon selection at Custom Ribbons Now will ensure every headband you make stands out.