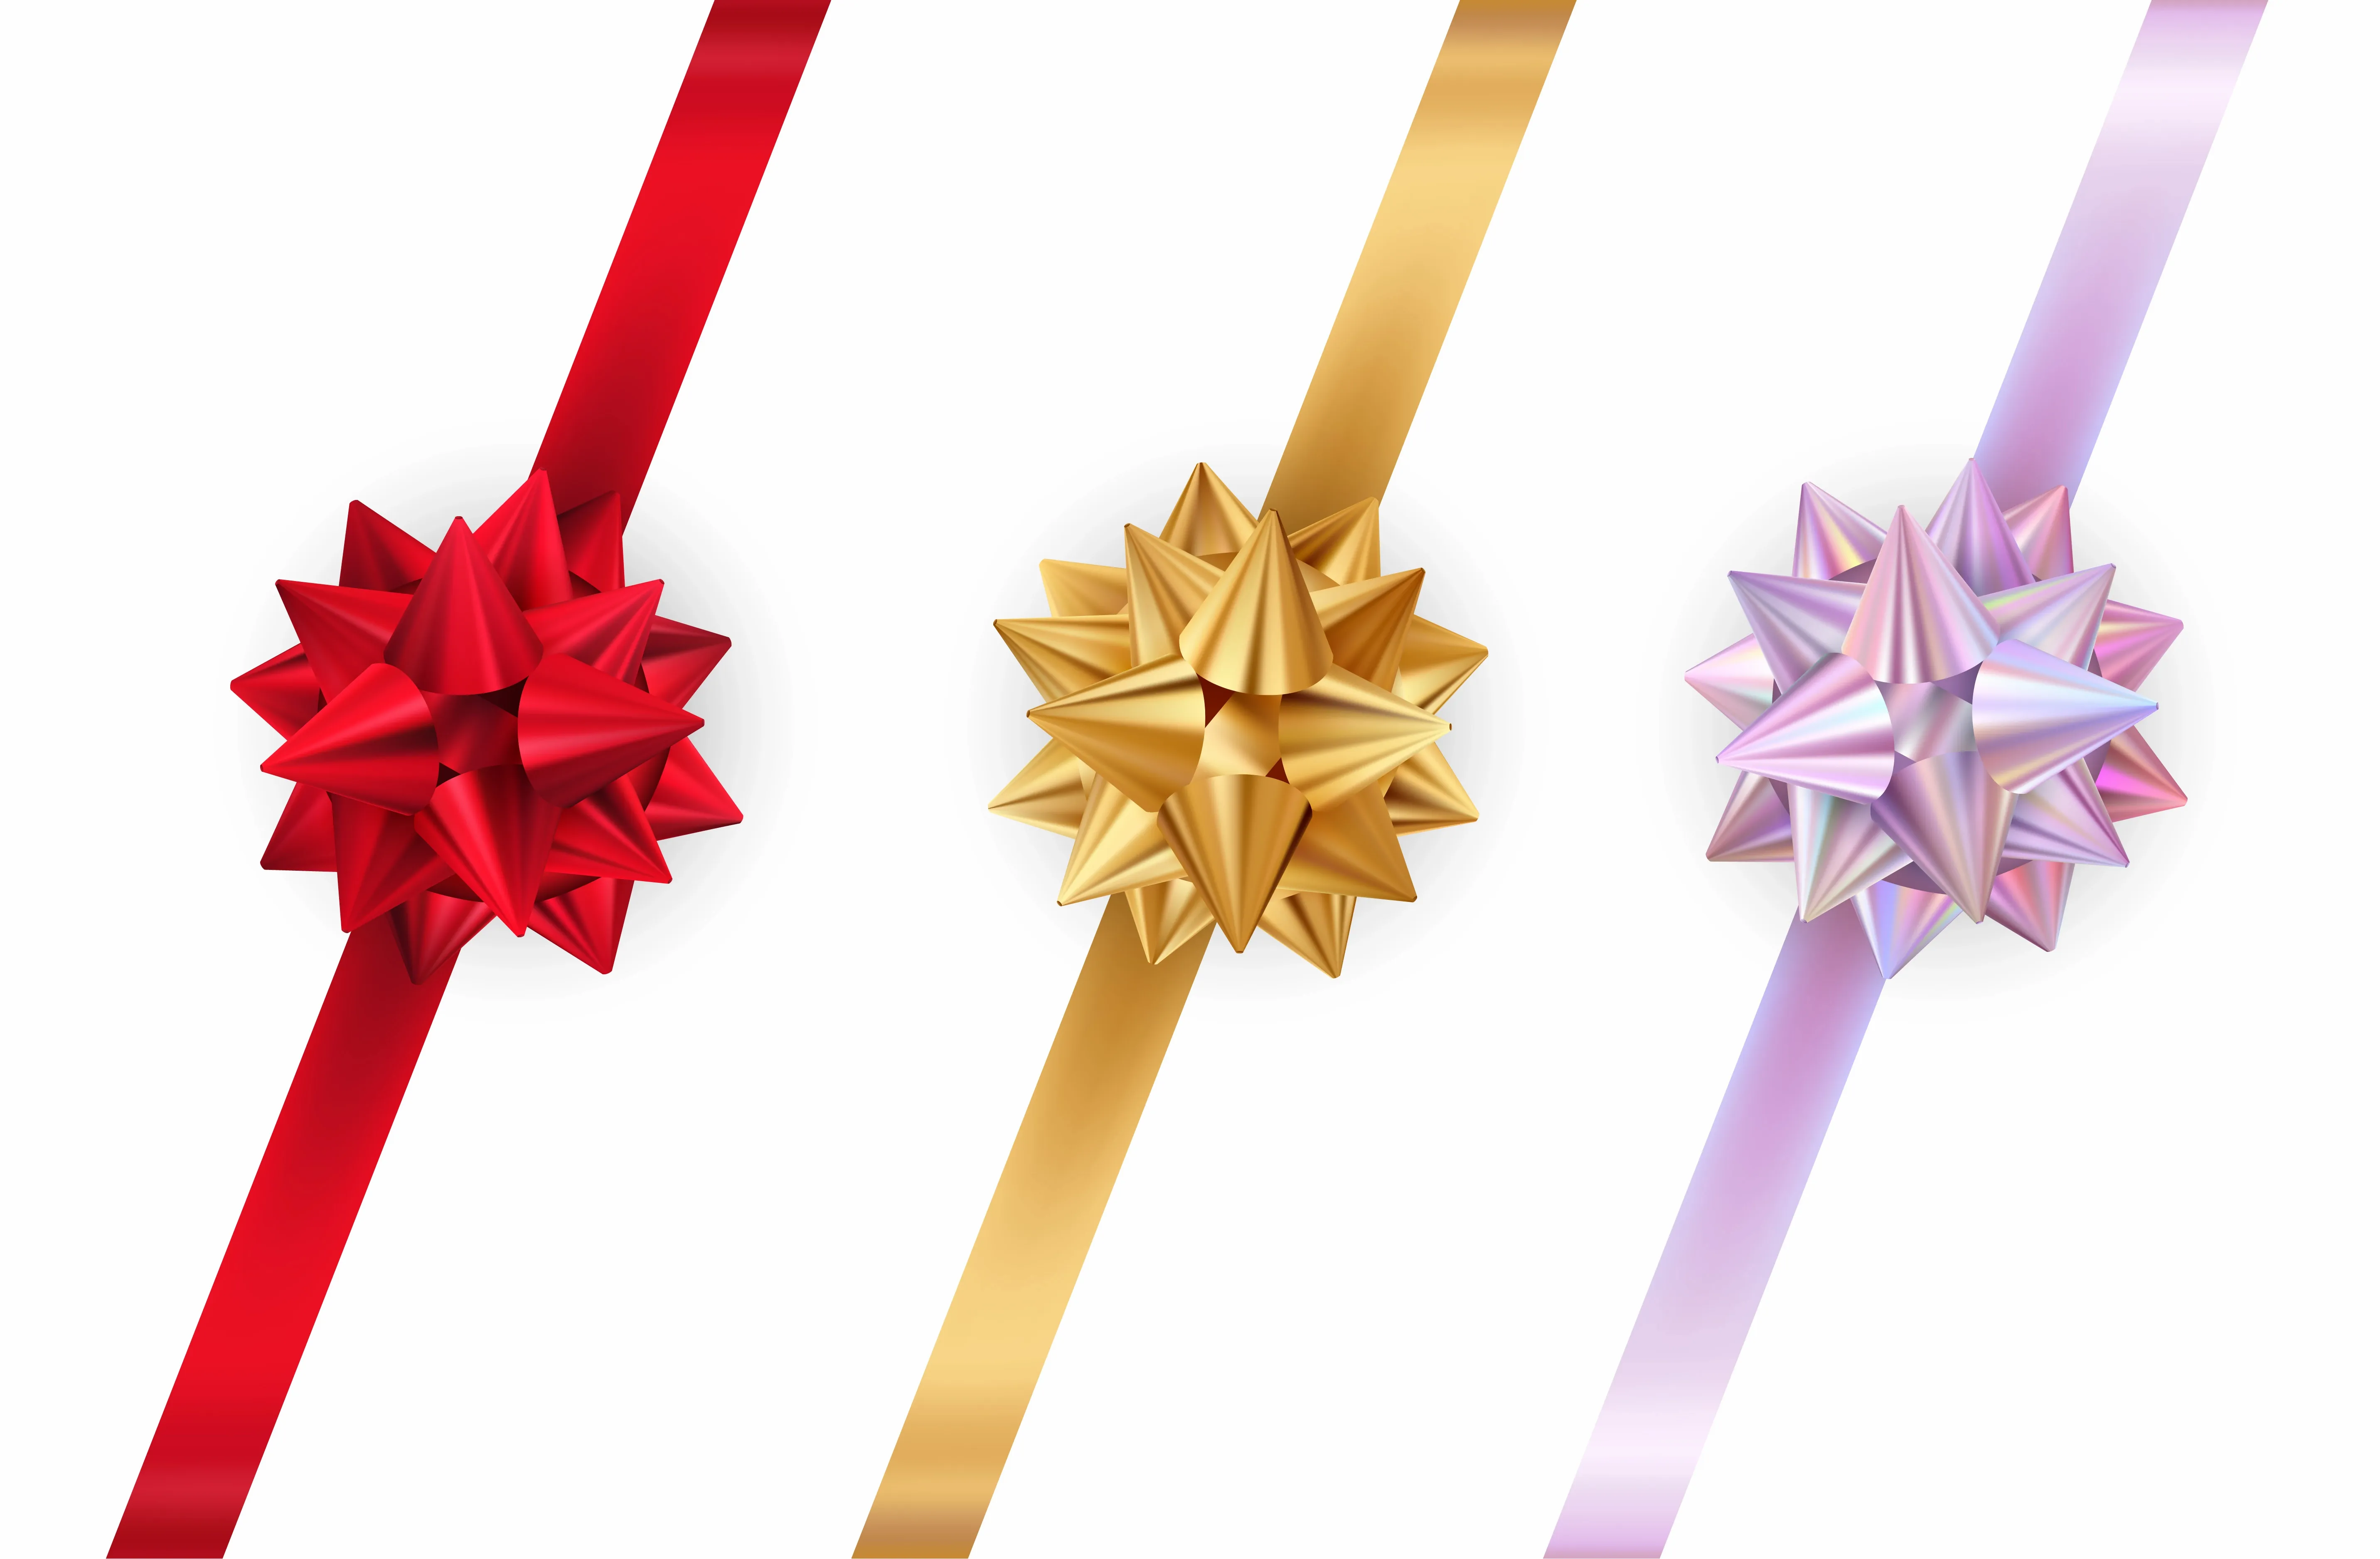
Tying a Bow With Ribbon Step-by-Step
Isn’t it lovely when you receive a gift with a beautifully tied bow? Tying a bow with ribbon is the perfect way to present something special. It’s a skill that can also help you with numerous crafting projects. You can even make hairstyles look extra glamorous with a few bows. However, many people think that learning to tie a bow is a tricky business.
We’re here to tell you it’s actually super simple. Tying a bow with ribbon of any type is easy when you follow a few key steps. Read on to discover why you want to learn this talent and two simple ways to tie perfect bows.

Tying a Bow With Ribbon: Reasons to Learn
Learning to tie a bow is satisfying — doesn’t everyone love learning a new skill? Even if you can secure a fairly decent bow already, discovering new techniques expands the decorations you can add to gifts, cards, or crafted items.

Gifts
You could buy a pre-made ribbon every time you want to give a perfectly wrapped gift. But this can become expensive fast if you have a big family or circle of friends. Learning to tie a ribbon gives you a cost-effective way to present gifts — especially when you have access to affordable, customizable ribbons.
Look for high-quality acetate ribbons for bows that won’t shift even when stacked in a pile of other gifts. Alternatively, add a premium touch with eye-catching metallic ribbons.
Crafting
Whether you make your own greeting cards, customized boxes, or other products, a bow makes a sweet finishing touch. Tying a bow with ribbon multiple ways means you can expand your crafting repertoire. Add a fancy bow to an anniversary card or a simple one to the cake band. Bakers, in particular, utilize bows of all kinds to complete culinary masterpieces that leave recipients in awe.

Hair Styling
Braids and French plaits are popular hairstyles you can complement with ribbons. However, without a neat bow at the end, they can end up looking disheveled. Tying a bow with ribbon finishes a great hairstyle with a touch of glamor.
Tying a Bow With Ribbon: Two Ways
There’s more than one way to tie a bow — in fact, there are dozens! Today, we’ve picked out just two to get you started.
Tying a Basic Bow With a Ribbon
This is the classic ribbon bow that you might wrap around a gift. You will need:
- High-quality ribbon in any fabric or color
- Sharp scissors — dressmaker’s scissors are ideal
- Glue or double-sided tape (optional)
- Clean hands
- Cut as much ribbon as you will need to wrap around a gift, plus 15 inches extra to make your bow. If you’re not wrapping a gift, simply 15 inches of ribbon is fine.
- Take one end of the ribbon and make a large loop. Do the same with the other end. You now have a loop of ribbon in each hand.
- Cross one loop over the other, creating an “X” shape with a small gap in the middle.
- Thread the top loop over and behind the bottom loop and back through that gap.
- Pull tight, and you’ve made a neat bow.
- Trim the ends of the ribbon to equal length.

Top tip: If you cut the ribbon at a 45-degree angle, it can help prevent the fabric from fraying. You can use glue or double-sided tape to attach bows to whatever you like. For cakes, bakers often use a single dab of icing.
Creating a Loop Ribbon
This ribbon with additional loops is for when you need something to look a little extra fancy. Use the same tools listed above, but include a short length of narrow ribbon or colored twine. Tying a bow with ribbon using this method uses more length, so double or even triple the length you used previously.
- Take your longer length of ribbon. Wrap it neatly around your hand, over and over. Each wind of the ribbon should lay perfectly on top of the one beneath.
- Once you have a circle of multiple layers of ribbon, fold it in half.
- Where it’s folded, cut the corners at a 45-degree angle, ensuring each cut stops just short of the center of the ribbon.
- Unfold and you now have a pinched center for your bow. Use the shorter ribbon or twine to tie this tight.
- Carefully pull out the individual loops of ribbon. You can get creative here, fanning the ribbon out as much or as little as you like. If you twist each loop, they’re more likely to keep their pose.
- Glue or tape the bow to your gift or crafting project.

Choosing Customizable Ribbons for Tying All Types of Bows
Tying a bow with ribbon is easier when you invest in high-quality ribbons from a trusted supplier. Whether you want soft, chiffon ribbons or stiffer, durable grosgrain options, Custom Ribbons Now has you covered. We supply all types of fabrics, colors, and lengths of ribbon to consumers and businesses. The best thing is that you can customize any of our ribbons with whatever design you need.
You could have a full set of ribbons with everyone’s names on them, removing the need for expensive gift tags. Or, you could simply have a special anniversary or event ribbon printed with your unique details. Browse the website for more inspiration, or give the team a call at 1-877-208-2067 if you have any questions.